

How to Hide a Shared Folder in Windows
If you want to prevent other users on your network from accessing your shared data but still want to be able to get to it yourself over the network here is how you do it.
1. Right click the folder or disk you want to be secured and choose Sharing and Security
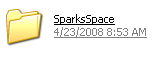
2. Add a ‘$‘ to the end of the folder name (without the single quotes). For example if the folder name is SparksSpace, rename it to SparksSpace$.The name can be up to 12 characters long (including the dollar sign).
![]()
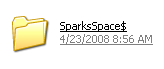
3. Now you can share the folder and people who know about the folder can use it.That folder is now hidden and won't be visible by any other user on your network, nor will it appear in My Network Places or Network Neighborhood. Only by knowing the name of the folder can others access it.
Now how can it be accessed?
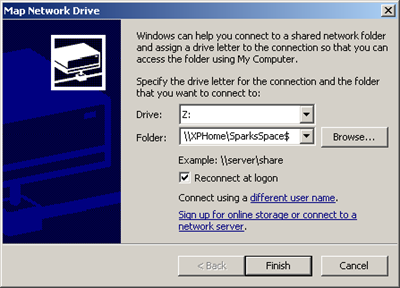
- Click Finish (Note! If you choose not to reconnect at logon, you will have to manually re-map your share after every reboot).


0 comments