Create An XP Live CD
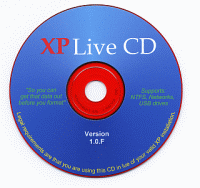
A live CD contains an OS configured to run directly off the CD, ie, it need not be installed on the system. Just pop the CD into the systems drive, boot from it and the OS will be up and running, without tampering with the OS loaded on your systems hard drive. This can be a very handy tool for network administrators for tasks such as, recovering data from crashed desktops or doing other troubleshooting tasks
One of the easiest ways to do this is using a software called pebuilder. Using it, you can create an XP Live CD in just about 15 minutes! Here’s all the software you’ll need:
1. pebuilder3110a1.exe, from here
2. Plugins: xpe-1.0.7.cab (the GUI shell) from here ,Other plugins from here or here
3. Nero Burning ROM
4. A (bootable) XP CD
Step 1: Download pebuilder3110a1.exe and install it.
Step 2: For the wallpaper, replace C:\pebuilder3110a\bartpe.bmp with the image you want as your wallpaper. You can find the default XP wallpaper at C:\WINDOWS\Web\Wallpaper\bliss.bmp. (Both these, of course, assume the C drive as the installation location.)
Step 3: Download the plugins:
![]() xpe-1.0.7.cab: This will create the XP start button and taskbar. It is the GUI shell of the XP Live CD.
xpe-1.0.7.cab: This will create the XP start button and taskbar. It is the GUI shell of the XP Live CD.
![]() Network Driver Plugin Pack: This provides many network card drivers
Network Driver Plugin Pack: This provides many network card drivers
![]() FreeAV Virus Scanner: This integrates FreeAV diskexplorer_for_ntfs.cab: A very good file explorer And more… you can choose what you want to download to add functionality. There are 537 plugins right now to choose from!
FreeAV Virus Scanner: This integrates FreeAV diskexplorer_for_ntfs.cab: A very good file explorer And more… you can choose what you want to download to add functionality. There are 537 plugins right now to choose from!
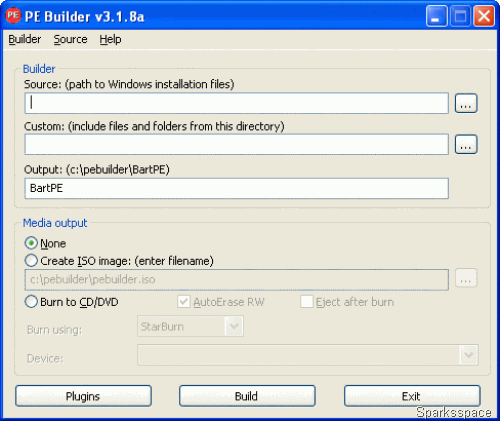
Step 4: Open pebuilder. Specify the source path to the Windows installation file. This should be your Windows XP installation bootable CD, where the i386 folder resides
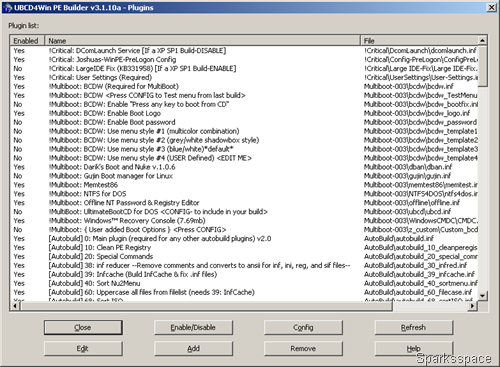
Step 5: Click Plugins and add the plugins you’ve downloaded. Since you’ve included xpe-1.0.7.cab, disable nu2shell and the startup group.
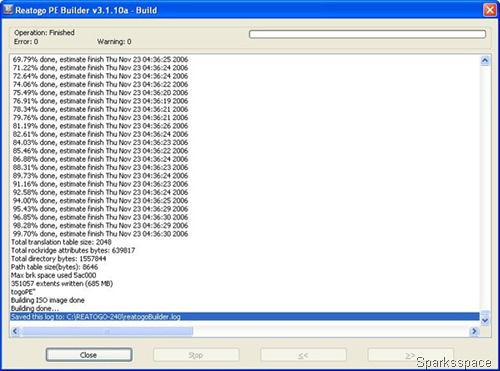
Step 6: Specify the ISO image file, and click Build.
Step 7: After that’s done, use Nero (or any other burning software) and burn the image file to a CD. You’re done!


0 comments